Mega Menu
To create Mega Menu follow below steps:
1. Create a new or use existing menu.
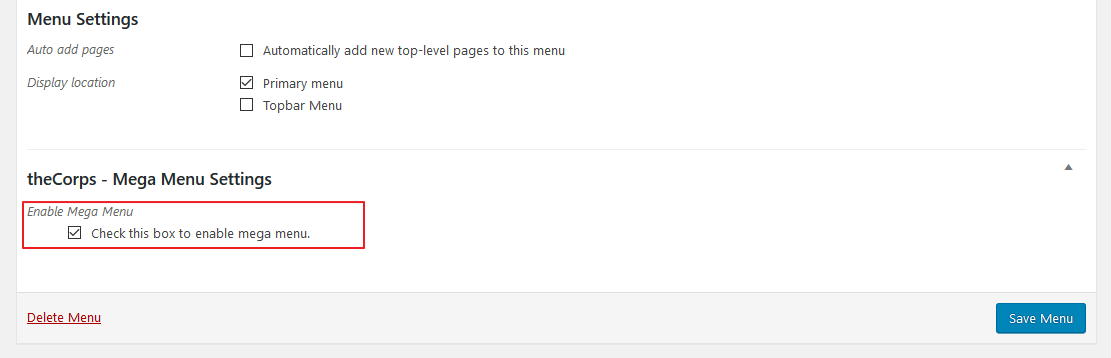
2. First check “Enable Mega Menu” checkbox to enable Mega Menu in current menu.
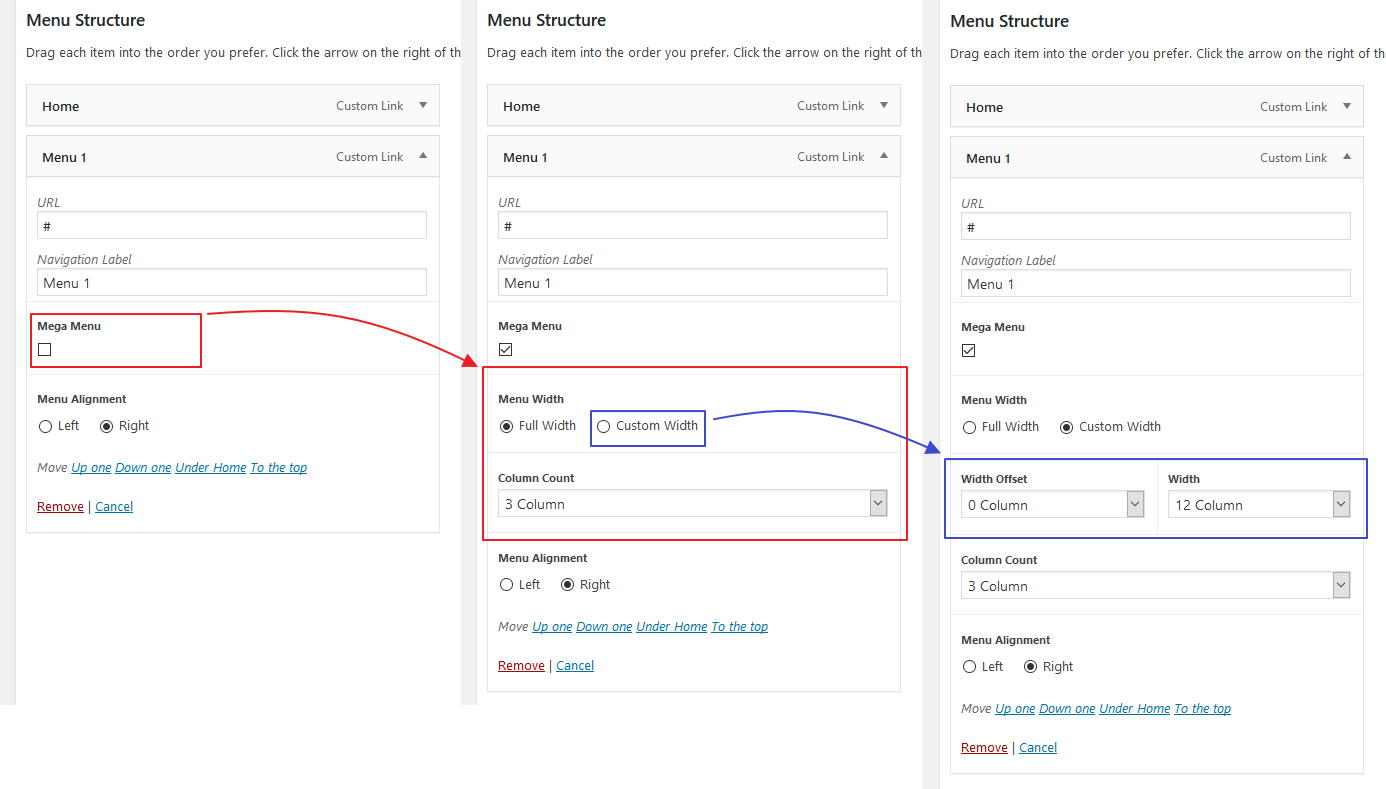
3. Now add top menu items. In root menu items, you can see a checkbox “Mega Menu”. By selecting this checkbox, you can enable mega menu on any root level menu item.

4. Selecting “Mega Menu” checkbox will enable few more fields, which will help to control mega menu output/display. New field details are as below:
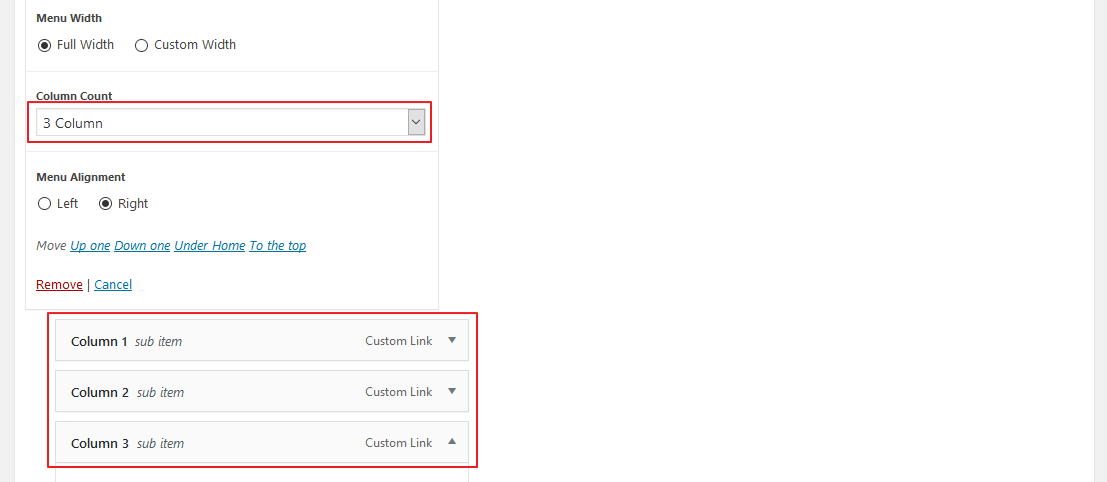
1. Menu Width: As name suggests, by this field, you can control width of Mega Menu. It contains two options.
1. Full Width: This will allow to display Mega Menu in full width of navigation area.
2. Custom Width: Selecting this will enable two more fields which offer settings to set custom mega menu width and offset. So, by these controls, you can manage mega menu width easily.
2. Column Count: By this you control column counts in Mega Menu. So, if you want to add 3 columns, select 3 in dropdown.
5. Then add “Custom Link” child menu items (Column Wrapper), to root mega menu item, as same number of selected in Column Count. In this document screenshot (hereafter reffered as Demo), we added 3 child menu items (Column Wrapper) because we selected “3 Column” in “Column Count”.
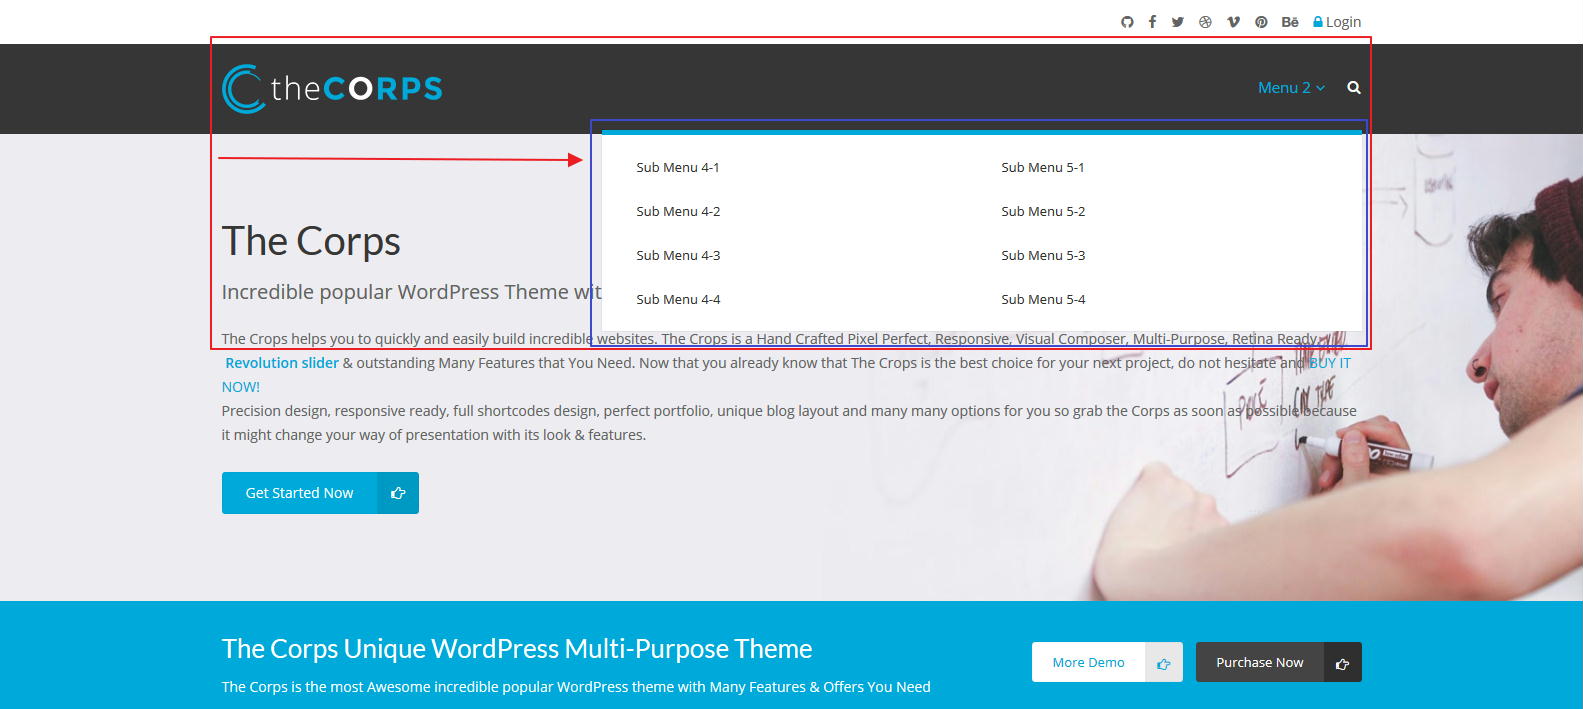
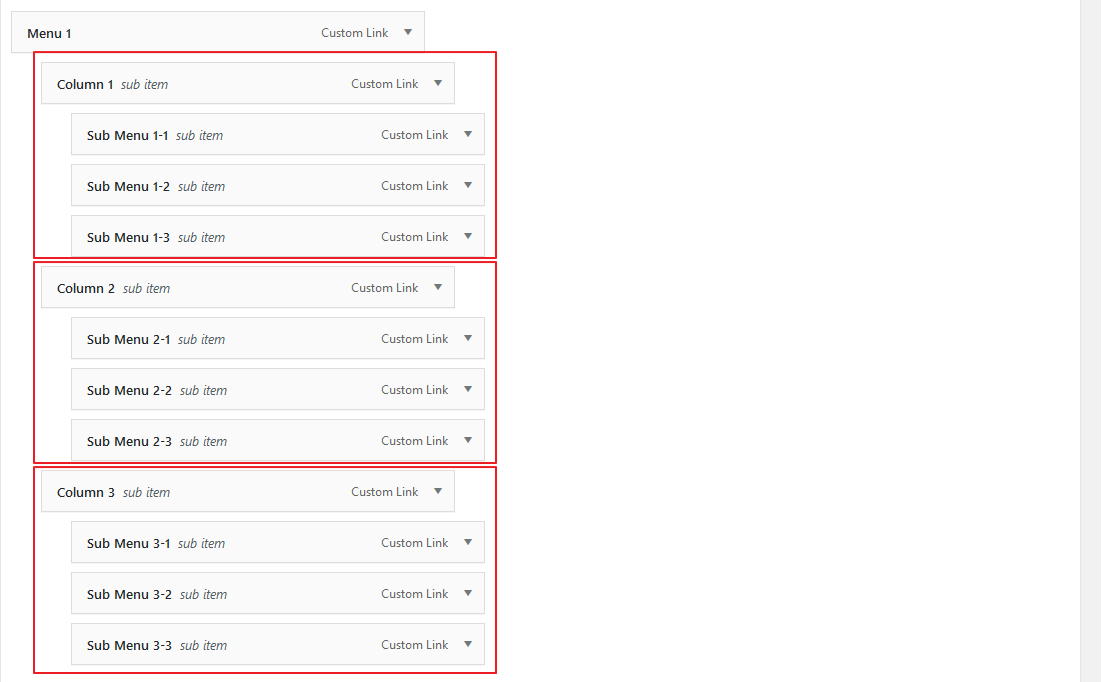
6. Then, add menu items to columns. We added 3 menu items to each column. Here you can see Mega Menu with sub menu items in columns.

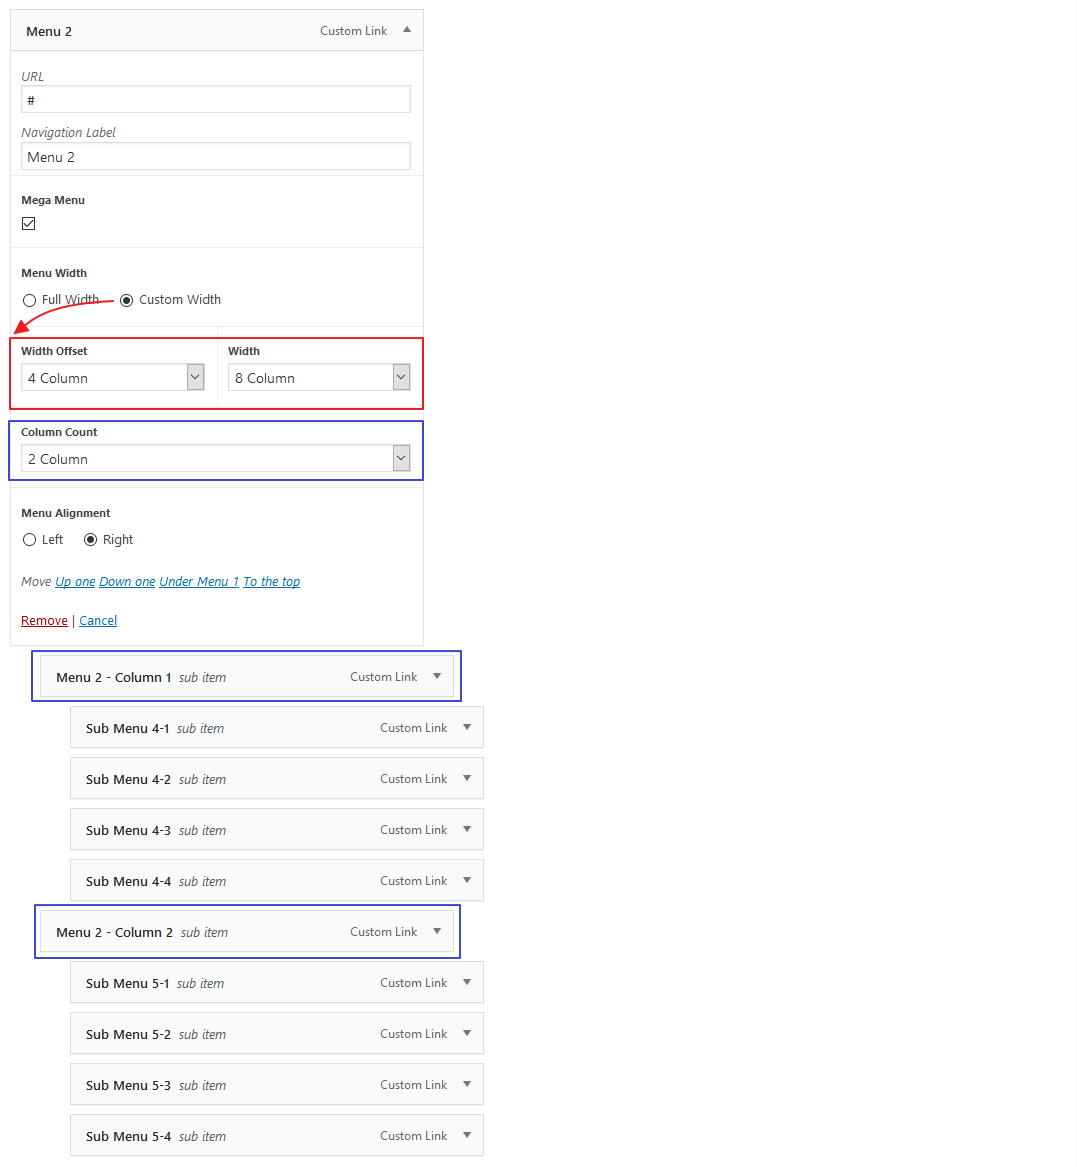
7. Now, add another root level menu for another Mega Menu item. In this select “Custom Width” in “Menu Width” and “4 Column” in “Width Offset” and “8 Column” in “Width”. And, select “2 Column” in “Column Count”. Then, add 2 “Column Wrapper” and 4 items in each column.