
Push Notification Firebase Setup
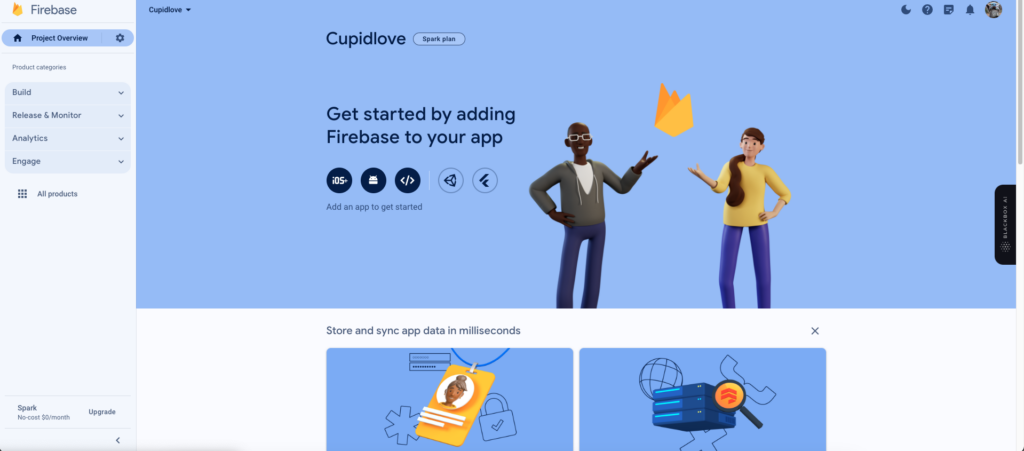
1. Go to https://console.firebase.google.com/ and follow the instructions to create a new app within Firebase.
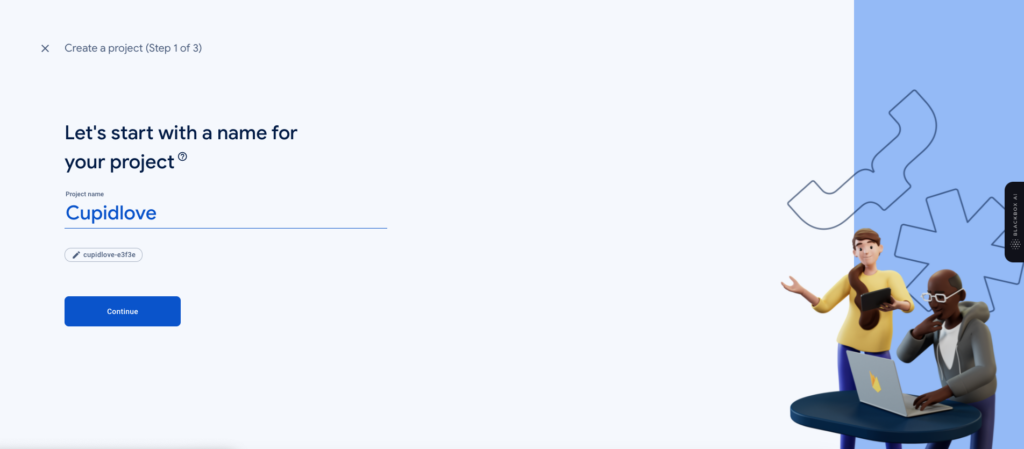
2. Click on Add New Project to create a new Firebase project
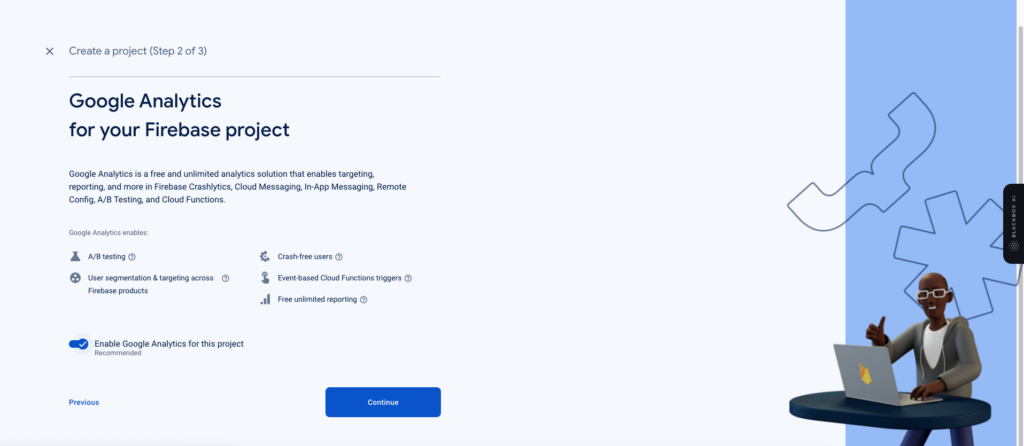
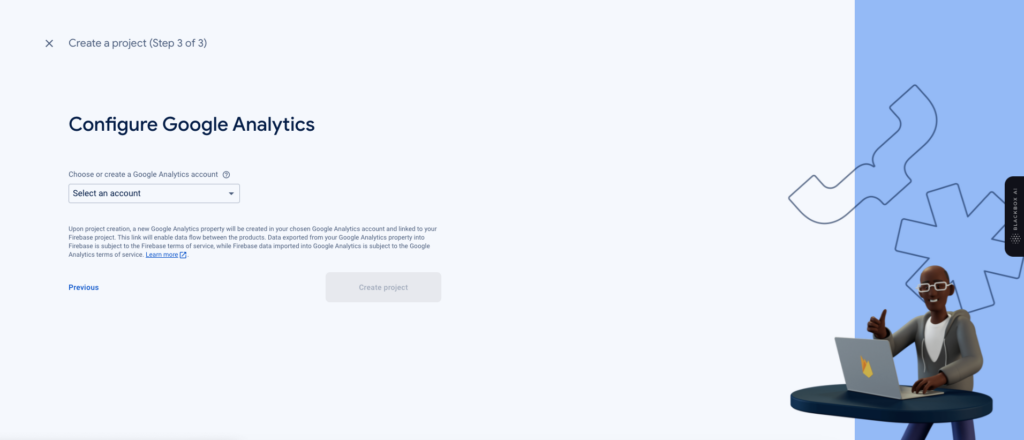
3. Click the Default account or create a new account and then click Create a Project.
4. To connect to Firebase, create a new project and configure your Android application. Click Add Android App to your Firebase to connect.
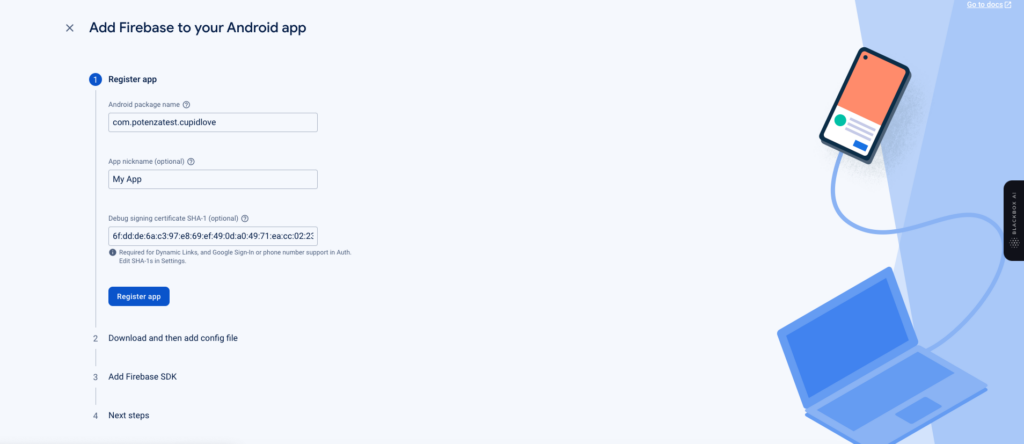
5. Enter project details in the form and click the REGISTER APP. (We recommend adding a signing certificate SHA-1 key for better application management)
Follow this official link to get an SHA-1 fingerprint (https://developers.google.com/android/guides/client-auth)
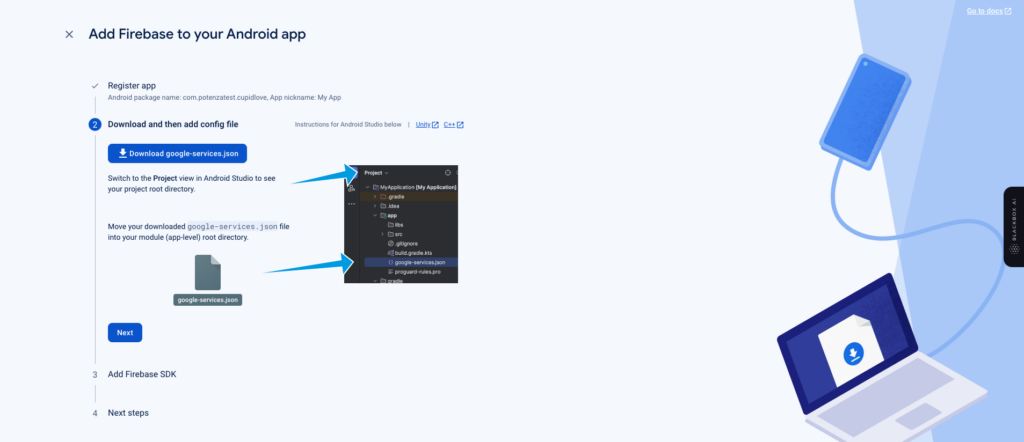
6. Download the google-service.json file and paste the google-service.json file into your project’s ... /CupidLove/app folder.
7. Add Firebase SDK to your project as per your project configuration.

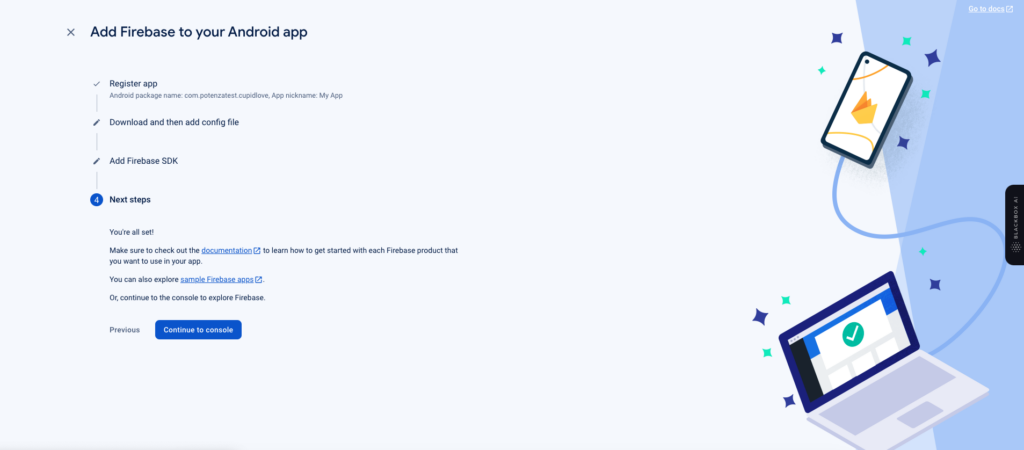
8. Click on CONTINUE and FINISH for the next steps of configuration.
Now, your Firebase project is Ready for use.
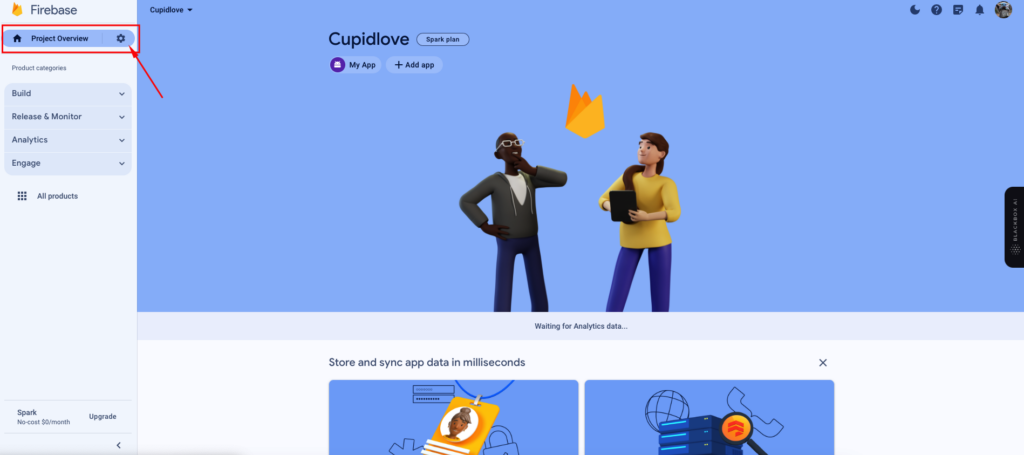
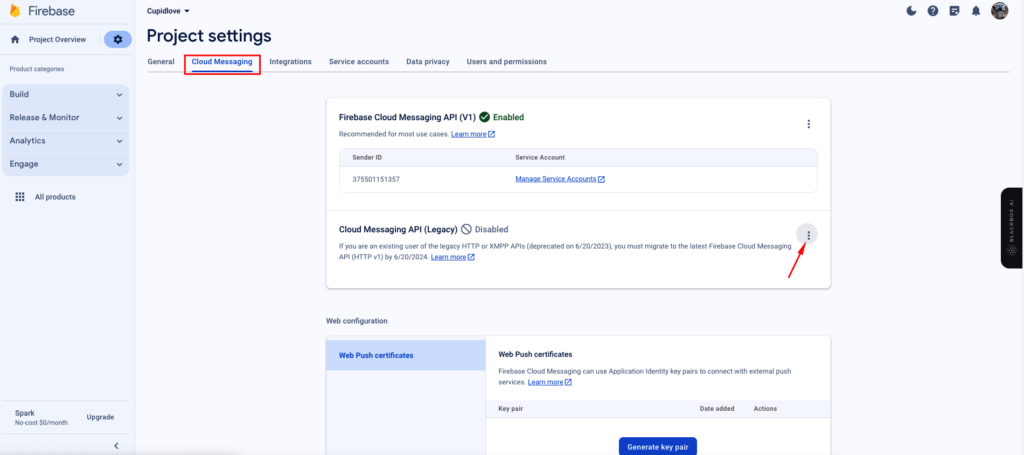
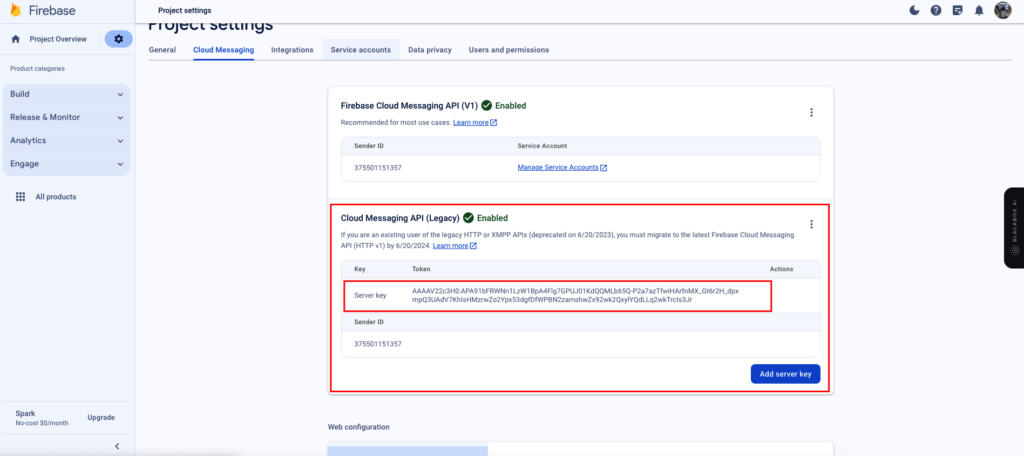
9. Navigate to your Project Setting > Click on the Cloud Messaging API (V1) section’s three dots.
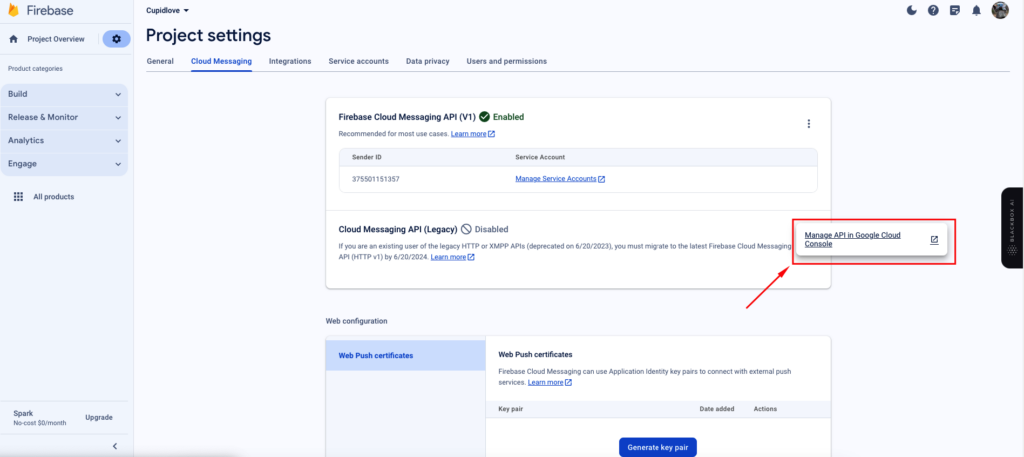
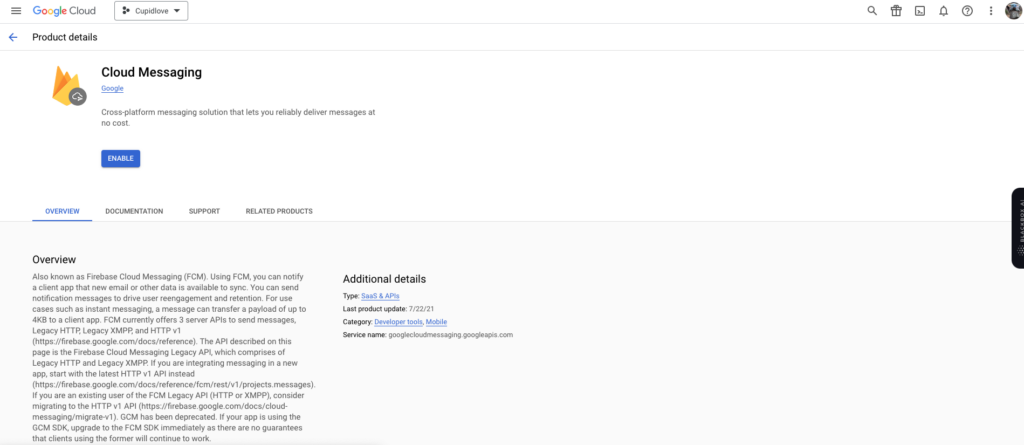
10. Enable the Cloud Messaging from the Cloud console
11. Return to the Firebase Project Setting page, you’ll see a new section with your server key.
12. Go to the CupidLove admin panel, select CONFIGURATION from the left menu and add your Server key in the ANDROID FCM KEY section.
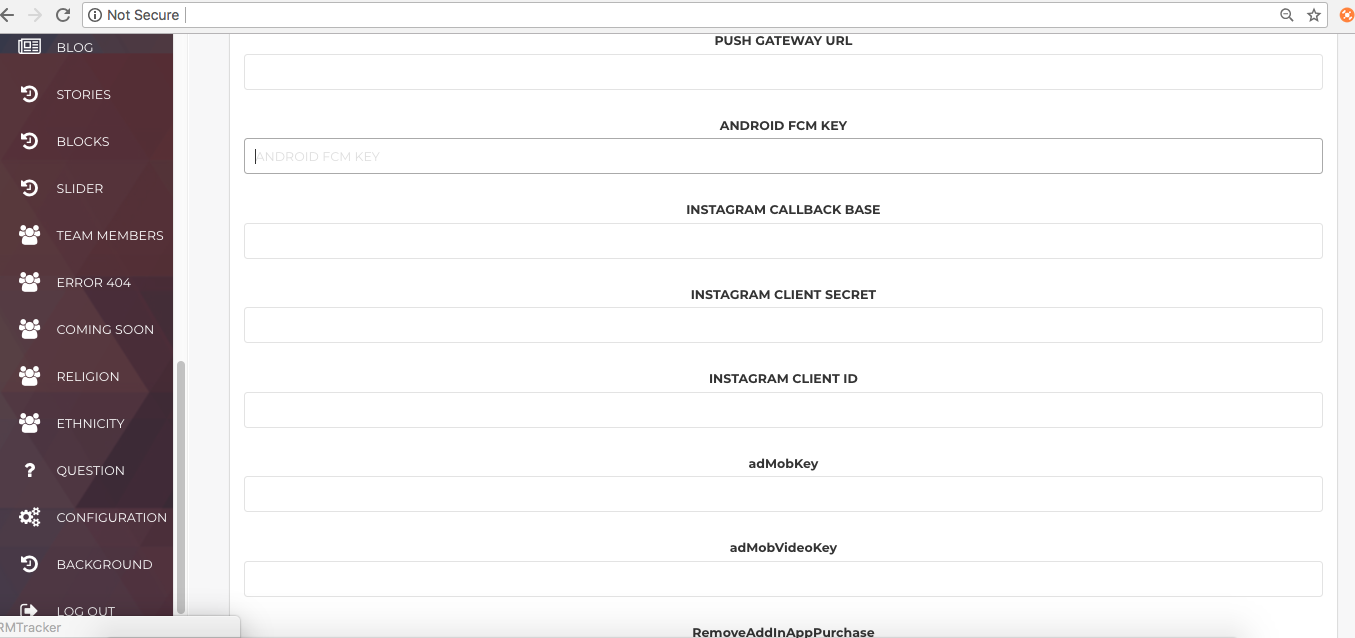
The Android Push Notification Configuration has been completed successfully, and you can verify the configuration by sending a test push notification to your Android device.